ADB Login
When developers only have a Windows computer and a USB Type-A to Type-C cable, they can connect the Windows computer to the development board using this cable. By using the ADB (Android Debug Bridge) tool to establish a connection, they can then access the system by following the steps below.
Hardware Preparation
- Mainboard: A8550PF1
- Power Supply: DC12V 5A Power Adapter
- Input Device: USB Type-A to Type-C Cable
Boot the Board
The board comes pre-installed with the LE system by default. After powering it on with the 12V power adapter, the board will automatically boot into the system.
- Booting process: The RGB indicator light will show a solid red light.
- Use the USB Type-A to Type-C cable to connect the Type-A end to a USB port on the Windows computer and the Type-C end to the Type-C port on the board.
- System booted successfully: The RGB indicator light will show a solid green light, and the cooling fan will start spinning, indicating that the system has finished booting.
Log into the System via Terminal
Since the device is already connected via ADB, you can access the AidLux system by performing the following operations:
- Open a terminal window on the Windows side and execute the following commands to log into the host system.
adb root
adb shell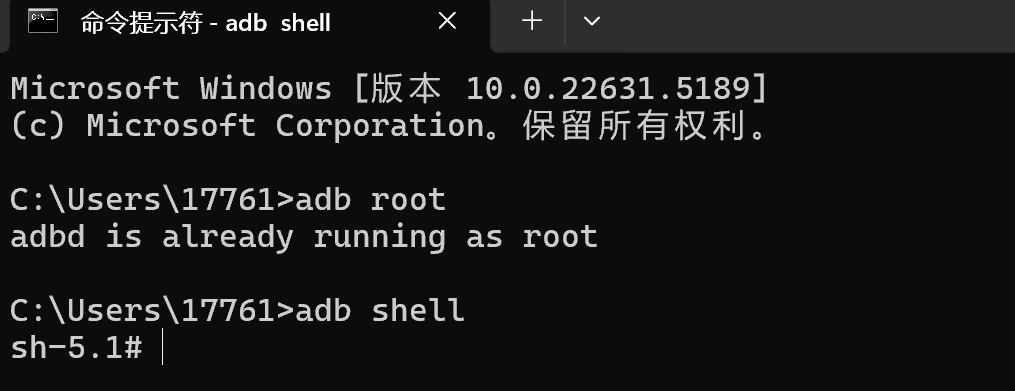
- Then execute the command
docker exec -it aidlux bashto log into the AidLux system.
docker exec -it aidlux bash
💡Note
In this scenario, you cannot access the Desktop of the AidLux system; you can only perform development within the command-line interface.
By following the above steps, you will be able to access the AidLux system.